CabWriter Comprehensive – Part 8
Learn how to use CabWriter’s editing tools to recover from mistakes and other problems that crop up during the drawing process.
Learn how to use CabWriter’s editing tools to recover from mistakes and other problems that crop up during the drawing process.
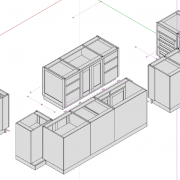
Clean up! That part of a modeling project where you eliminate necessary parts, customize some parts, add parts that are missing (e.g. shelves), lengthen or shorten parts, add custom parts to the CabWriter cabinets or any other editing necessary to complete the model.
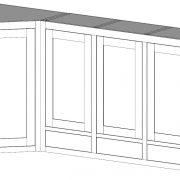
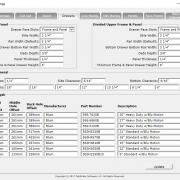
Learn how CabWriter deals with face frame and frameless designs and how overlay doors fit into the overall picture.
Learn how to use the ‘Re-Draw Selected Cabinets’ tool to change the characteristics of an existing cabinet and explore the Box Selector dialog to learn about the settings that you can change on a per box bases.
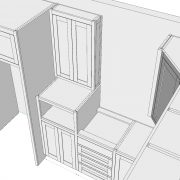
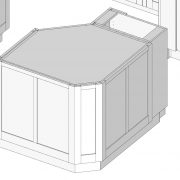
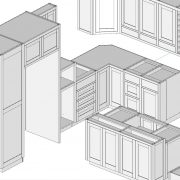
Learn to create tall divided base cabinet, standard upper cabinet, standard diagonal corner cabinet and a four box divided upper cabinet while learning some new SketchUp tricks and CabWriter tools.
Explore the very important CabWriter concept of cabinet DNA. Each and every part of a cabinet has the DNA for the entire cabinet which allows you to extract the settings from any existing cabinet to duplicate it in the future, essentially turning every cabinet you’ve ever drawn into a library.
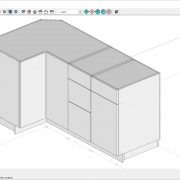
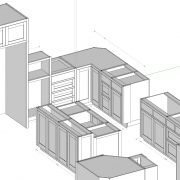
Dive deeper into parameters in the CabWriter settings dialog box while completing the base cabinets for our kitchen.
In this lesson, we’ll show you how quick and easy it is to draw a cabinet, then slow down and show you the in’s and out’s of cabinet creation and how to master the story stick and decipher stile types.
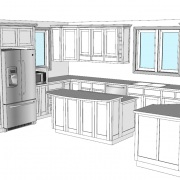
Start with an overview of the kitchen we’ll create in this multi-part CabWriter course. You’ll be introduced to the various scenes needed for exporting to LayOut and take a look at what is necessary to create a cut list and look at two types of optimization tools: CutList Plus fx from Bridgewood Design and Cut2D Pro from Vectric. We’ll also show how easy it is to use CabWriter CNC to export DXF files of your parts to that can be used to generate tool paths for your CNC.